
Looking to level up your movement on the wall? Climbing isn’t just about strength—it’s about using technique to climb smarter, not harder. In our Part 1: Climbing Techniques and How to Use Them blog, we shared 5 fundamental skills every climber should know. Now, we’re diving deeper with 7 more essential techniques: Drop Knees, Toe Hooks, Stemming & Pressing, Laybacks, Knee Bars, Rock Overs, and Dynamic Movement. Learn what they are, when to use them, and how to practice each one to become a more efficient climber.
1. Drop Knee
What It Is:
A drop knee involves twisting your knee downward and inward while keeping your foot in place, creating tension and stability.
How to Use It:
With one foot on a foothold, rotate your knee down and in toward the wall. Let your hips twist with the motion to bring your center of gravity closer to the wall and gain more reach.

Why It’s Important:
Drop knees reduce upper body strain, increase reach, and help you stay close to the wall on overhanging or sideways moves.
How to Practice:
On a route with side pulls or overhangs, try twisting into the wall instead of staying square. Experiment with different angles to feel how the drop knee gives you control and extension.
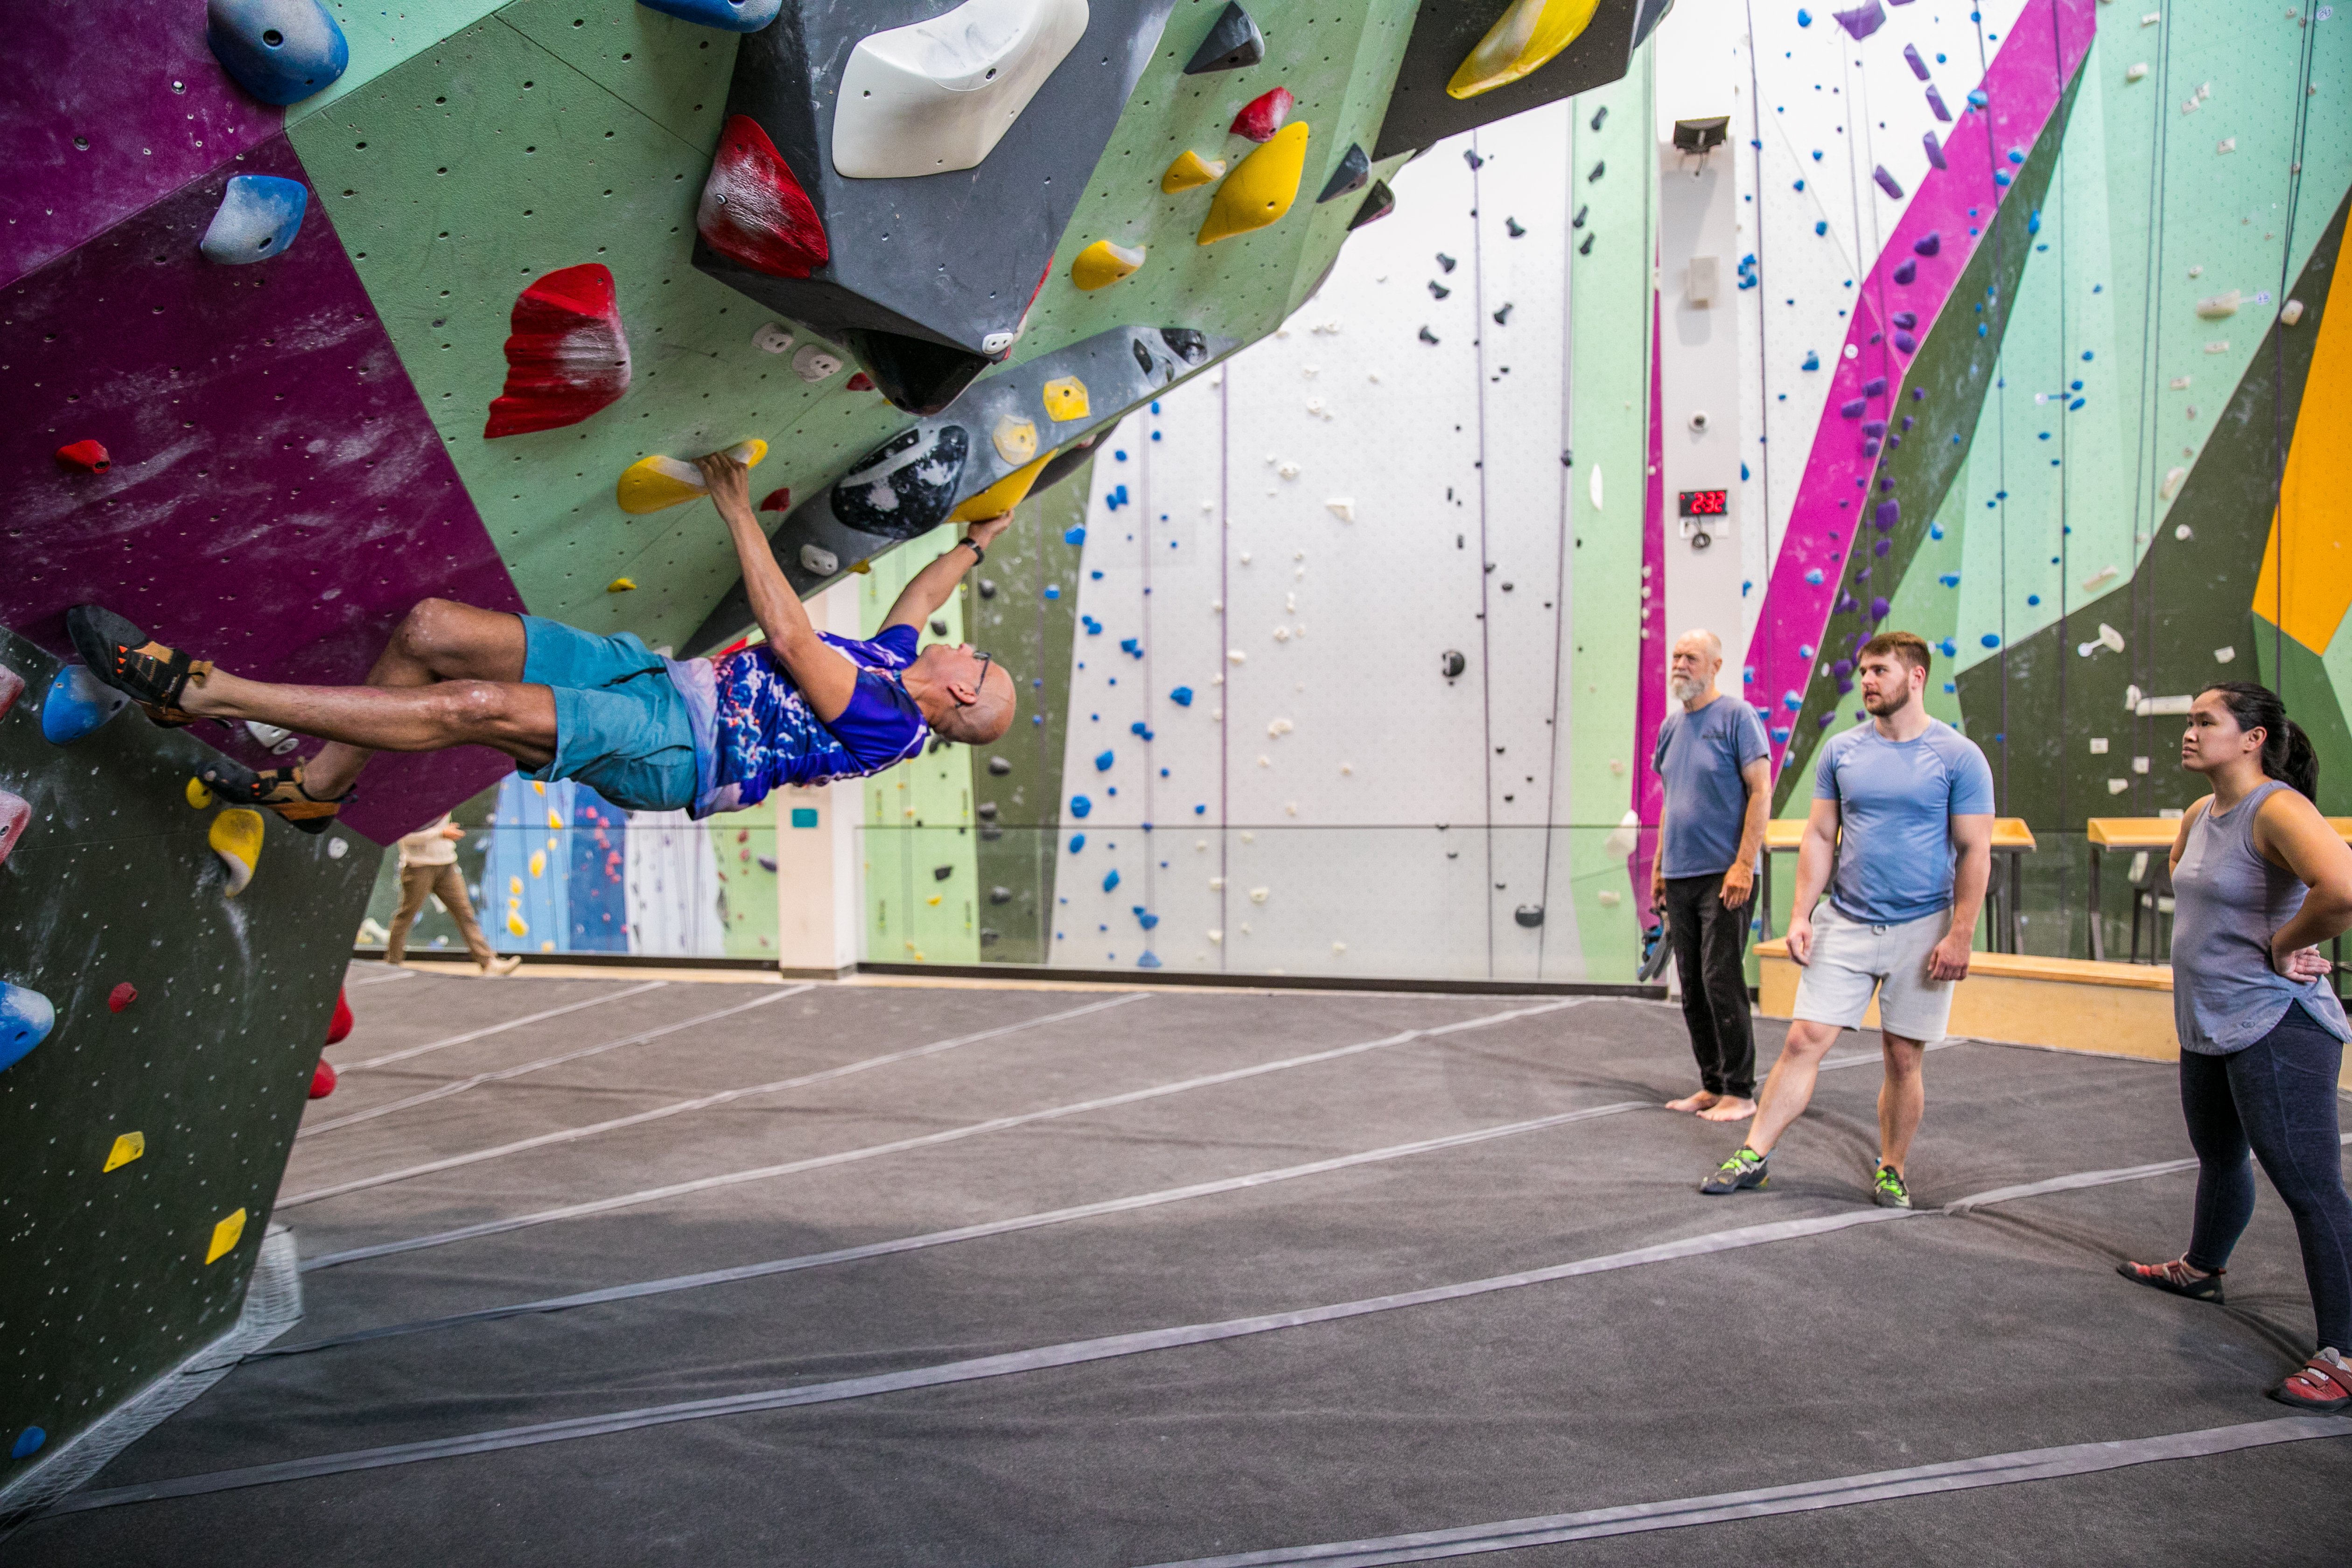
2. Toe Hook
What It Is:
A toe hook uses the top of your foot to pull against a hold, offering control and tension in steep or sideways moves.
How to Use It:
Reach your foot up or across and hook your toe over a hold. Engage your shin and core to keep your hips from swinging out.

Why It’s Important:
Toe hooks are key for staying on the wall during overhangs, roof climbs, or when moving sideways across volumes or features. You can also use a toe hook to match, move, or even rest.
How to Practice:
Try routes with volumes or large holds where you’d usually swing off. Add a toe hook to stabilize yourself, and feel the difference in body tension.
3. Stemming & Pressing
What It Is:
Stemming involves using pressure between two surfaces, usually opposing walls or features, while pressing means pushing against holds or walls rather than pulling.
How to Use It:
Place your feet and/or hands against opposite surfaces and press outward. Engage your legs to stay upright and maintain tension between your body and the surfaces.

Why It’s Important:
This technique lets you rest, stay balanced, and conserve energy on dihedrals or open corners.
How to Practice:
Find a corner or chimney route and explore different ways to stem with your feet and press with your hands or back. Focus on balance rather than muscle.
4. Layback
What It Is:
Laybacking means pulling on one side of a vertical feature (like an edge or crack) while pushing your feet against the opposing wall.
How to Use It:
Grip the edge with both hands and lean your body away from the wall. Push your feet sideways on the wall and maintain tension through your core to climb upward.

Why It’s Important:
Laybacks can help you climb cracks or edges when there aren’t usable footholds nearby. They rely on technique and tension rather than brute strength.
How to Practice:
Find a vertical edge or crack and attempt to climb it using the layback technique. Focus on engaging your core and feet to stay in control.
5. Knee Bar
What It Is:
A knee bar uses the space between your foot and knee to wedge against the wall or feature, creating a stable “no-hands” rest.
How to Use It:
Place your toe or foot against one surface and press your knee into another, locking the leg in place. Engage your thigh and hip to create tension.

Why It’s Important:
Knee bars offer rest points, especially on steep terrain, and free up your hands for clipping or chalking.
How to Practice:
Look for two opposing surfaces (like a big volume and the wall) where you can wedge your leg. Experiment with angles and pressure until you find that sweet no-hands spot.
6. Rock Over
What It Is:
Rocking over means shifting your weight onto one foot to gain height and reach the next move.
How to Use It:
Once your foot is on a high foothold, bring your hips over it and straighten your leg. Keep your chest over your foot to maintain balance as you move up.

Why It’s Important:
Rock overs help you use leg power instead of arm strength to move up efficiently.
How to Practice:
On boulder problems with high steps, practice committing your weight to the foot and pushing through. It may feel awkward at first—but it gets smoother with practice.
7. Dynamic Movement
What It Is:
Dynamic movement involves using momentum to move quickly and powerfully between holds, such as in a controlled jump or a coordinated reach.
How to Use It:
Generate force with your legs and core, commit to the motion, and aim for accuracy. Focus on hitting the next hold with intent.
Why It’s Important:
Dynamic movement helps you make big or far moves you can’t static your way through, and adds a sense of flow and rhythm to your climbing.

How to Practice:
Work on problems that require coordinated moves or small jumps. Start with controlled dynos and build up your confidence and timing.
Try It Yourself
Next time you're on the wall, challenge yourself to experiment with one or two of these techniques. You may be surprised by how much more fluid and efficient your movements become.
Or practice with us! Movement offers Intro to Technique and Master Classes, plus free member clinics where you can get hands-on coaching and refine your skills with guidance from our expert instructors.